Midjourney AI: Creating Art with Midjourney Using Your Personal Photos

Imagine transforming any photo—even your casual selfies—into some thing immediately from a fantastical daydream. We're picturing breathtakingly surreal landscapes that appear like they may be from every other dimension, legendary creatures which you've most effective seen in storybooks, and thoughts-blowing visual results that'll have you picking your jaw up from the ground!
Seriously, it is like waving a magic wand over your pix and watching them come alive within the maximum superb manner. And get this—the first-rate component is that it is shockingly smooth to apply!
We can hardly ever contain our exhilaration and today we're going to walk you through how to create your own visible masterpiece in only a few easy steps.
Are you equipped to be blown away?
Steps to Create AI Images using Our Own Images as the Source
You may not believe how thrilling it's miles to create AI pix the usage of your personal snap shots as a place to begin! If you're humming with innovative electricity, here's the interesting adventure of a guide that'll walk you thru the process:
Step 1. Start by heading to Midjourney's internet site. Feel the fun as you be a part of the Beta program.
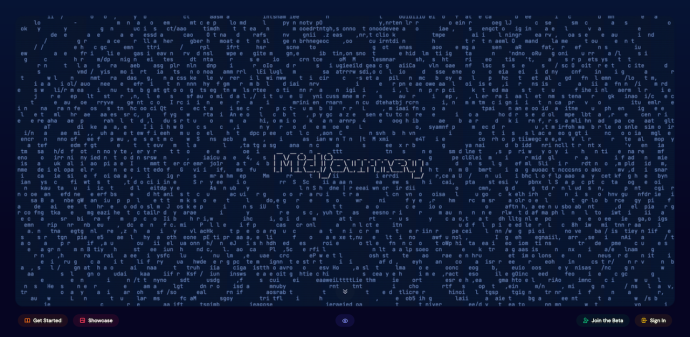
Hold on, due to the fact you are about to be whisked away to the sector of Discord.
Step 2. Hello, Discord! If you're new to Discord, don't be troubled. It's a breeze to set up an account.
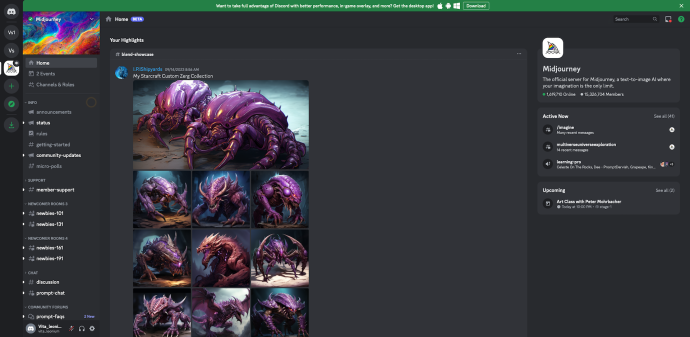
Once you are logged in, you will discover yourself in a public server. It feels a piece like stepping into a bustling café, does not it?
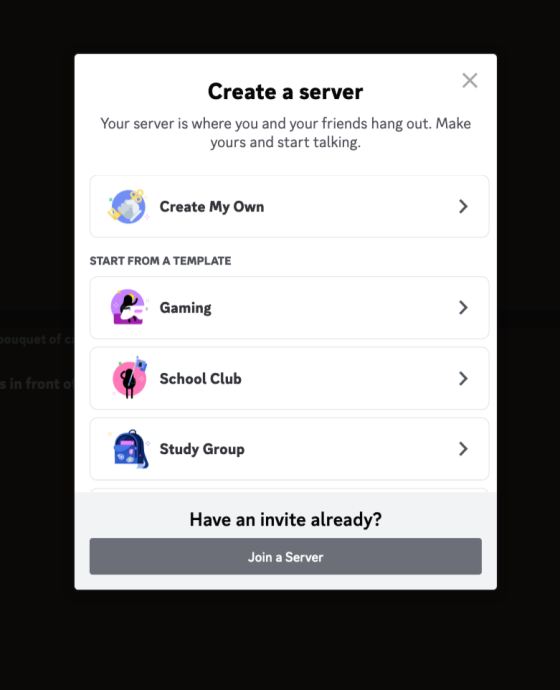
Step 3. Crafting Your Space. Glance over to the left aspect of your display screen. You'll spot a vertical menu. Click the inviting Plus (+) icon there, form of like starting the door on your personal room, distancing from the bustling café you to start with landed in.

Step 4. Personalize Your Realm. Craft a new server, pouring a piece of yourself into its call. Give it a persona!
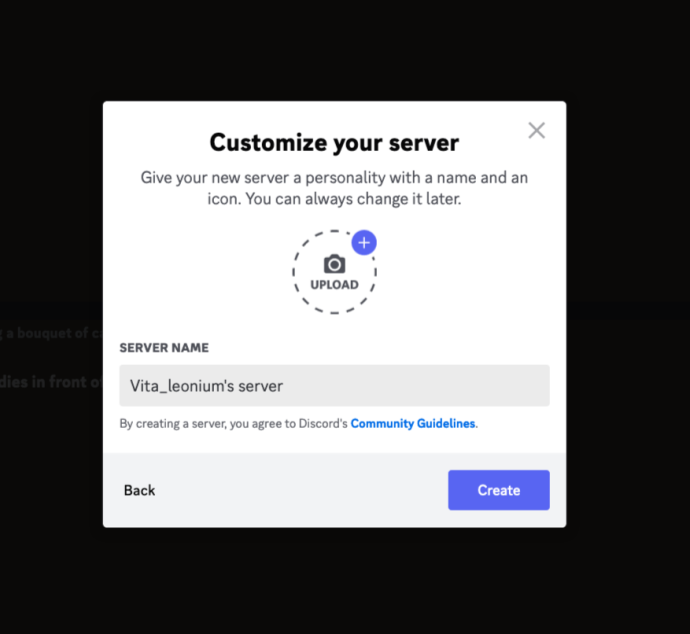
Share the Joy! You're now for your newly minted area. If you are like me and love sharing new reveals, invite a few pals over.
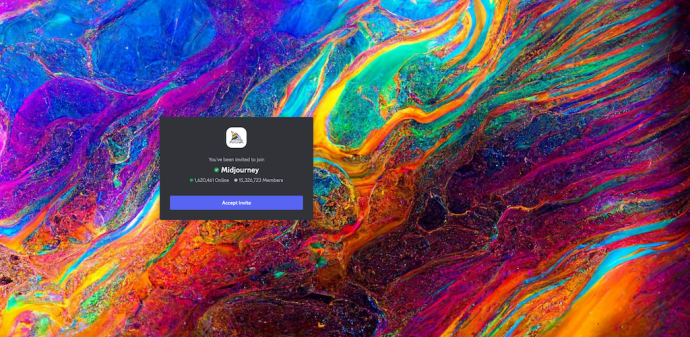
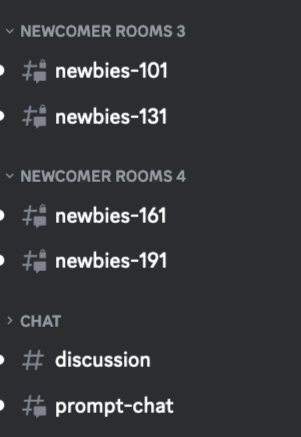
Step 5. Here Comes the Magic. Ready for the main occasion? Head again to the Midjourney public server the use of its emblematic emblem on the left. Dive into a random public channel.
Step 6. Meet the Maestro. In this public channel, there is a listing of members. Our big name participant? The Midjourney Bot. With a click on, invite it into your world.
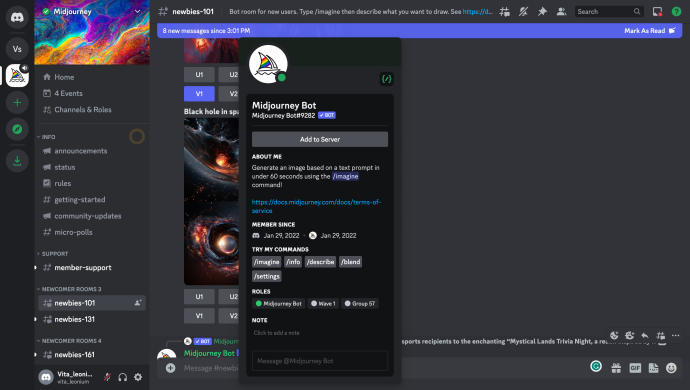
Set the Stage. Return on your non-public area. The level is now set for an AI masterpiece.
Step 7. Your Imagination is the Limit. You can conjure AI photos from the mere wisp of a keyword. Type /imagine pick out the spark off alternative, and weave your magic with phrases.

Please Note: Before you embark in this inventive adventure, you will want to nod in agreement to the Terms and Conditions.
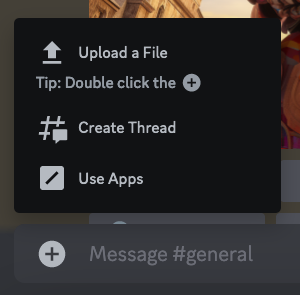
Step 8. Using the "Upload a File" alternative, bless the server along with your loved snap shots.
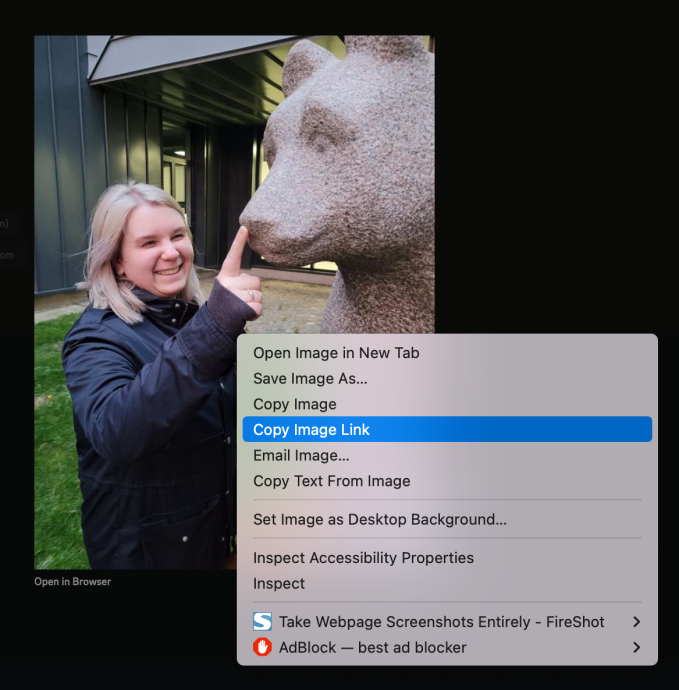
Step 9. The Link to Magic. After importing, click in your image. On a laptop, a right-click will monitor the image's hyperlink. Grab it; you will need it.
Step 10. Merge Past with Future. Just like in Step 9. summon /imagine and choose the set off. This time, paste the link and sprinkle your favored keywords on the stop.

Step 11. Finishing Touches: Hit the "Add Keywords" and watch as the magic unfolds. With every key-word, you get a brand-new angle, a new emotion, a brand-new story.
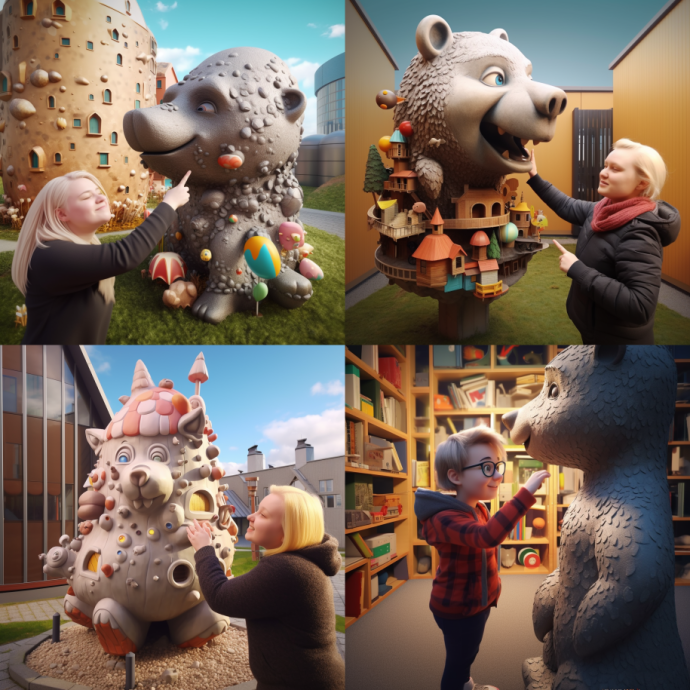
Here are our outcomes:
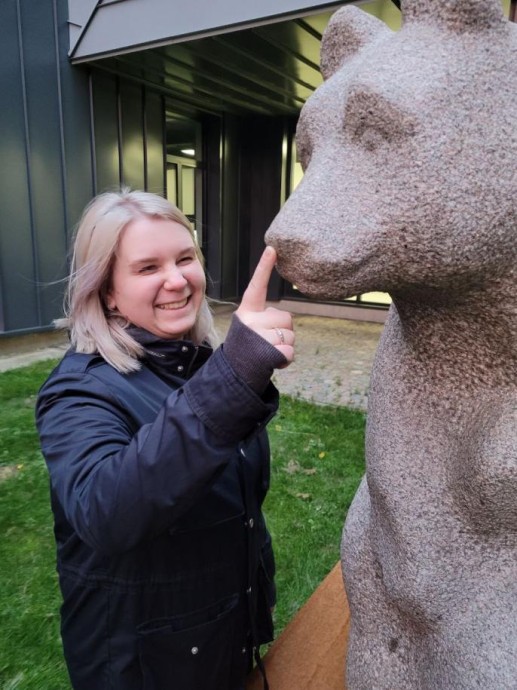
Original Image
AI-generated Image
Revel in the Magic of Midjourney! Let your creativity bounce, experiment with different keywords, and watch as your pictures remodel. Embrace the marvel of Midjourney!


Comments . 0